
How to Read a Topographic Map: A Beginner's Guide to Contour Lines and Landmarks
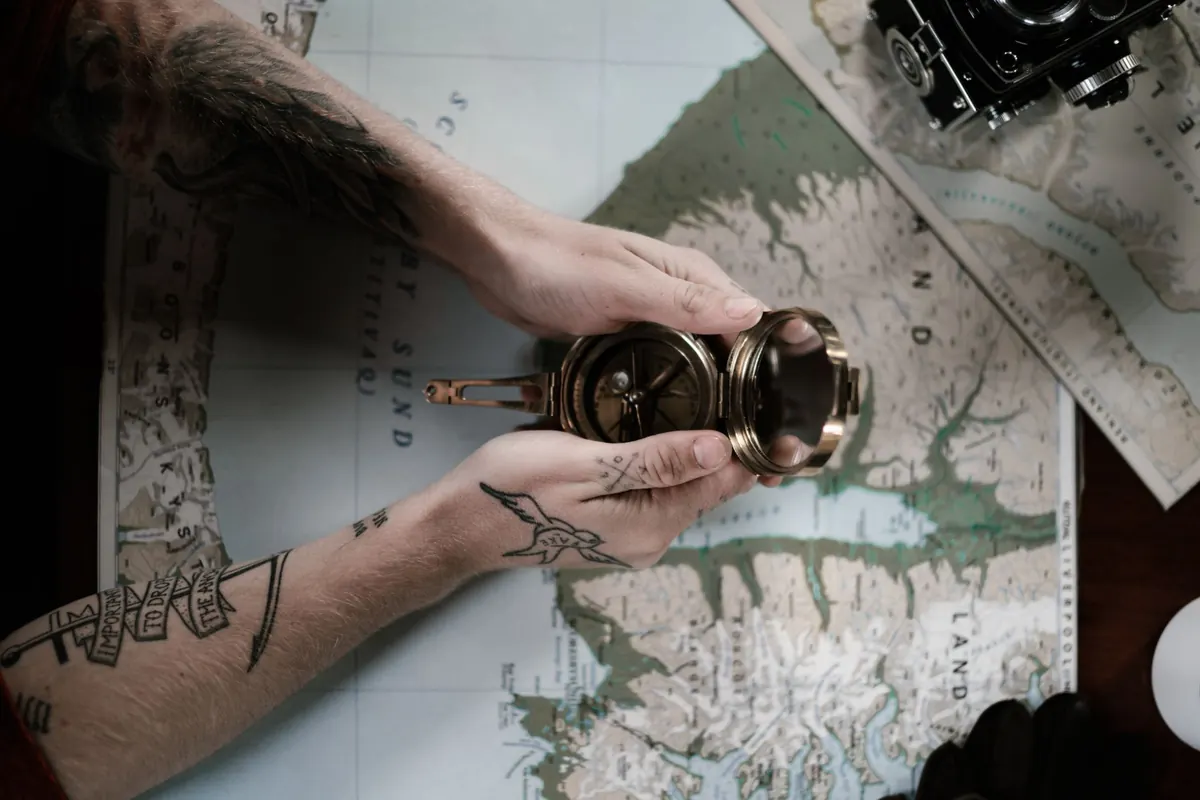
A topographic map can look like a plate of spaghetti dropped on graph paper. Give it twenty minutes, though, and those squiggles stop being noise. Every line is a sentence about the ground: here it rises, here it drops, here a creek cuts a groove you will have to cross. Learning to read that is the difference between following a blue dot and knowing exactly where you stand when the battery dies.
Start With the Legend and the Margins
Most beginners go straight to the middle of the map. Do the opposite. The margins carry the information that makes the picture legible.
Find the contour interval first. That number tells you how much elevation each line represents. A common interval on older USGS maps is 40 feet; you will also see 20 feet, 80 feet, and metric maps using 10 meters. Without that number, the lines are just decoration.
Then check the scale bar, the north arrow, and the declination diagram if one is printed. Declination is the difference between magnetic north (where your compass points) and the grid north of the map. It varies by region and changes slowly over time, so use the value printed on your map rather than a number you remember.
Finally, read the legend. Colors and symbols vary between map series and countries, so treat the legend as a fresh document every time. As a general habit: brown lines are elevation, blue is water, green usually means vegetation, black covers most human-made features and trails, and red often marks major roads.
Contour Lines: The Shape of the Land
A contour line connects points of equal elevation. Walk along one and you never go up or down. Walk straight across them and you are climbing or descending.
The spacing does the heavy lifting. Lines packed close together mean a steep slope. Lines spread wide mean gentle ground. Lines spaced evenly mean a consistent grade, which is what you want when you are carrying a heavy pack and hoping for a steady climb instead of a wall.
Every fifth line is usually drawn thicker and labeled with its elevation. These are called index contours, and they are your anchor points. If the numbers climb as you move toward a cluster of circles, you are heading uphill. If they drop, you are heading down. Simple, but it saves a lot of guessing.
Spacing is steepness. Shape is landform. Numbers are elevation. Get those three and the rest of the map opens up.
Six Terrain Shapes Worth Memorizing
Contours form a limited set of recognizable patterns. Learn these and you can picture a hillside before you ever see it.
- Peak or hill: nested circles with the smallest ring in the middle, elevation numbers increasing inward.
- Depression: closed circles with small tick marks pointing inward. That is a basin or sinkhole, not a summit.
- Valley or drainage: the lines bend into a V, and the V points uphill. The stream runs down the middle of that V, so you can trace water flow across the whole map.
- Ridge or spur: the opposite shape. Here the V points downhill, away from high ground, and the spine of the ridge runs down the center.
- Saddle: two summits with an hourglass-shaped gap between them. Saddles are often where trails cross a range, and they are usually your easiest route over a ridge.
- Cliff: lines so tightly packed they nearly merge, sometimes replaced by a special hachured symbol. If lines appear to touch or cross, that marks overhanging rock. Do not plan a route through it.
Scale, Distance, and Time on Your Feet
Scale tells you how much ground the paper represents. On a 1:24,000 map, one unit on paper equals 24,000 of the same units on the ground, so an inch covers about 2,000 feet and a mile takes up roughly two and a half inches. Metric maps often use 1:50,000, where a centimeter is 500 meters.
To measure a route, lay the edge of a piece of paper along the trail and mark each bend with a tick. Then compare those ticks against the scale bar. A length of string works too, and it handles switchbacks better than a ruler.
Distance on paper is not time on the trail. A rough rule of thumb many hikers use: about three miles per hour on flat ground, adding roughly half an hour for every 1,000 feet of climbing, then slowing further for a heavy pack, mud, or rough footing. Treat it as a starting estimate and adjust with your own pace. If you plan to be out after dark or in unfamiliar terrain, leave your route with someone at home.
Matching the Map to the Ground
This is where map reading becomes navigation. Instead of staring at a screen, you build a mental picture and confirm it with what you see.
Handrails are linear features you can follow or keep beside you: a creek, a ridgeline, a fence line, a road. Good route planning usually means having a handrail for the tricky sections.
Catching features sit just beyond your destination and tell you if you have gone too far. A lake, a river, or a highway at the bottom of a descent gives you a clear signal to stop and reassess.
Terrain association means reading the shape of the land rather than the trail. If the ground falls away on both sides, you are on a ridge. If it rises on both sides, you are in a drainage. If you can see two summits with a low gap between them, you have found your saddle.
A quick routine, worth repeating every fifteen or twenty minutes:
- Set the map flat and rotate it until features on paper line up with features on the ground. A junction to your left should be on your left on the map.
- To orient with a compass, hold it flat, let the needle settle, and turn the map, not yourself, until the map's north lines match the needle, adjusting for declination.
- Pick two or three visible landmarks: a summit, a lake, a distinct bend in a creek.
- Check their direction and rough distance against the map. If they agree, you know where you are.
- Do this again whenever the trail turns vague, forks without a sign, or fades under leaves.
Practice on Ground You Already Know
The easiest place to build this skill is a hill you have walked a dozen times. Take the map along, find the summit, trace the creek, mark the saddle where the trail crosses. When the paper matches your memory, the connection clicks.
Do that a few times and you will start noticing things you used to walk past: how the ground flattens before a ridge, how a drainage curves toward a valley, where the steep sections actually begin. Carry the map and compass on every hike even when your phone is charged. It weighs almost nothing, it never needs a signal, and after a season of practice you will trust it more than any battery.
Photo: ArtHouse Studio / Pexels